
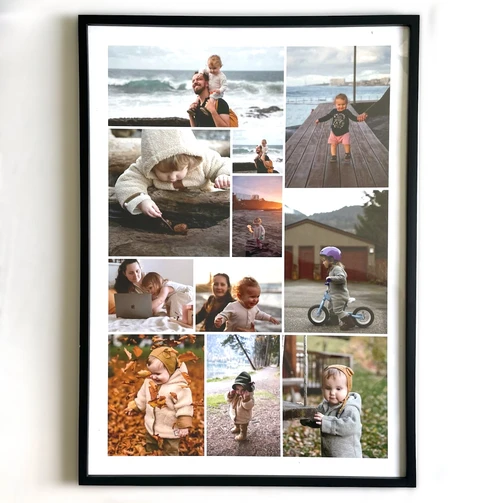


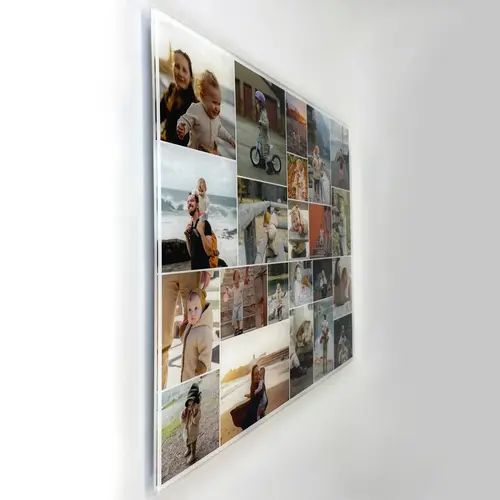
Photo Collage as a Grid
The Classic Photo Collage…
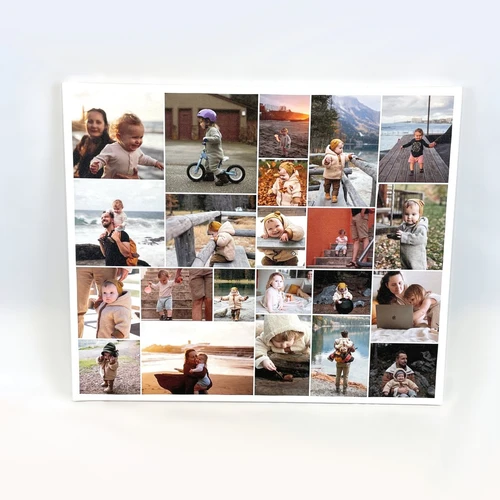
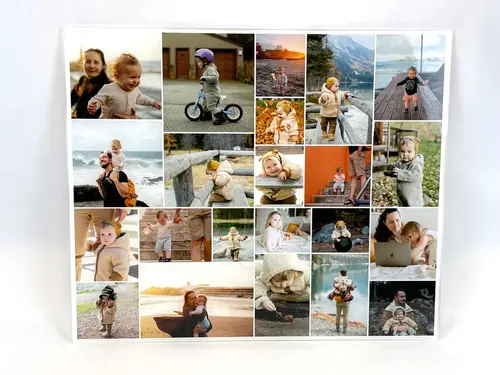
...doesn't have to be boring at all! Whether straight, playful, or in Polaroid style with two, four, or up to 225 images – create your photo collage with our templates, completely tailored to your taste. Turn your favorite photos into extraordinary artworks and creative photo gifts in just minutes.
Customize Your Collage Design in Just a Few Steps
With our program, it's easy to create your custom photo collage, whether on PC, tablet, or smartphone. You can pause editing at any time and continue on another device – no software download needed. The best part: you don't have to painstakingly arrange the pictures one by one – our configurator does it for you.
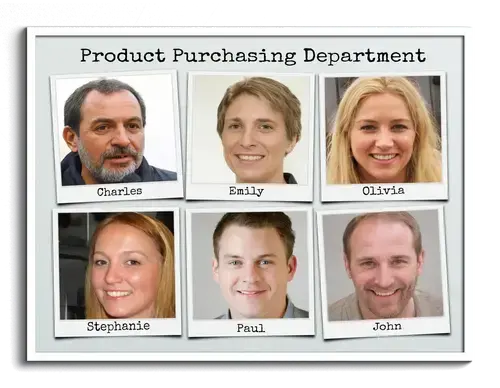
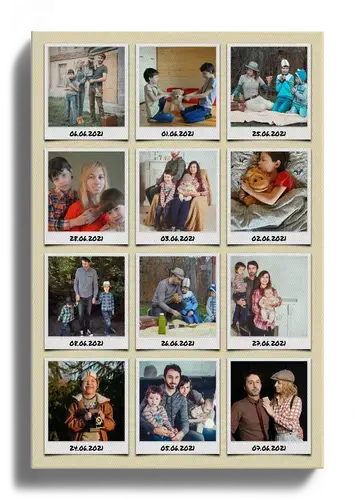
Use the numerous design options: depending on how many photos you want to include in your collage, you can set the number of rows and columns individually. Choose from various designs like Polaroid, Standard, or Retro. Optionally, you can add a custom text above and below the collage.
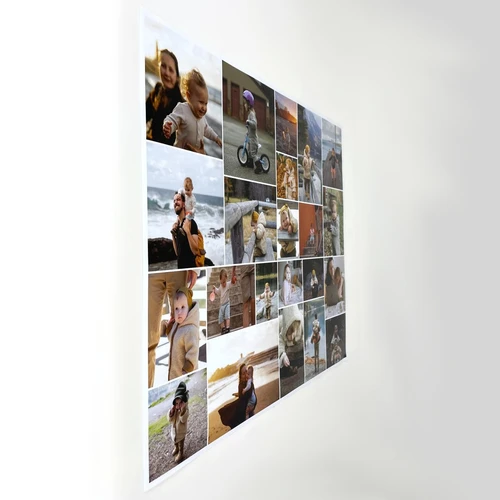
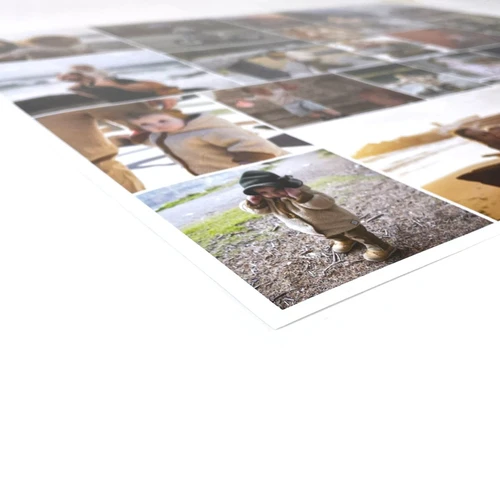
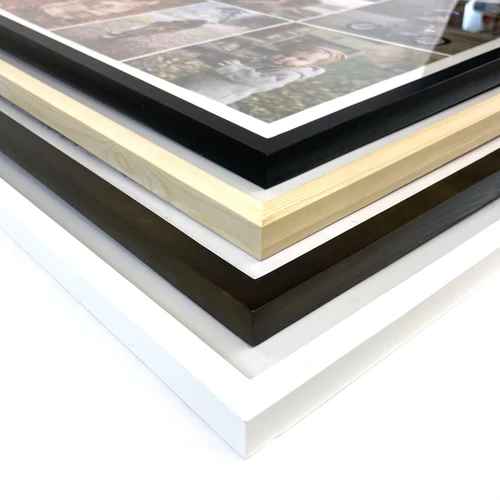
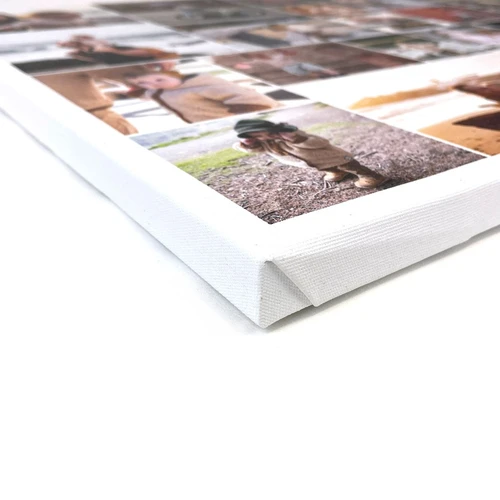
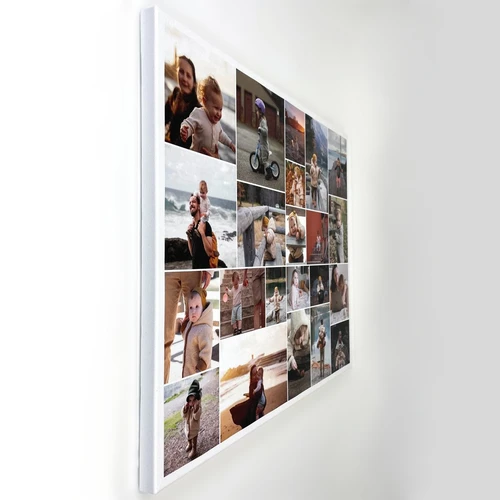
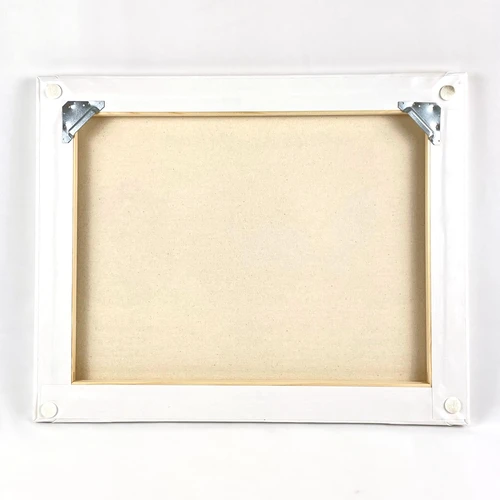
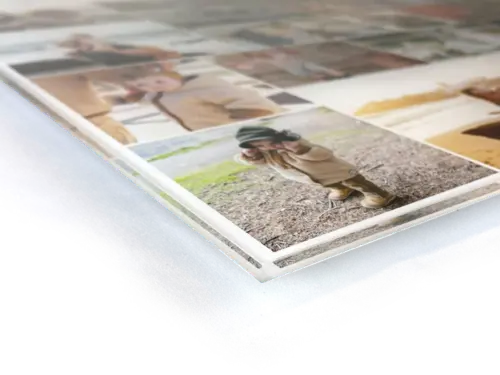
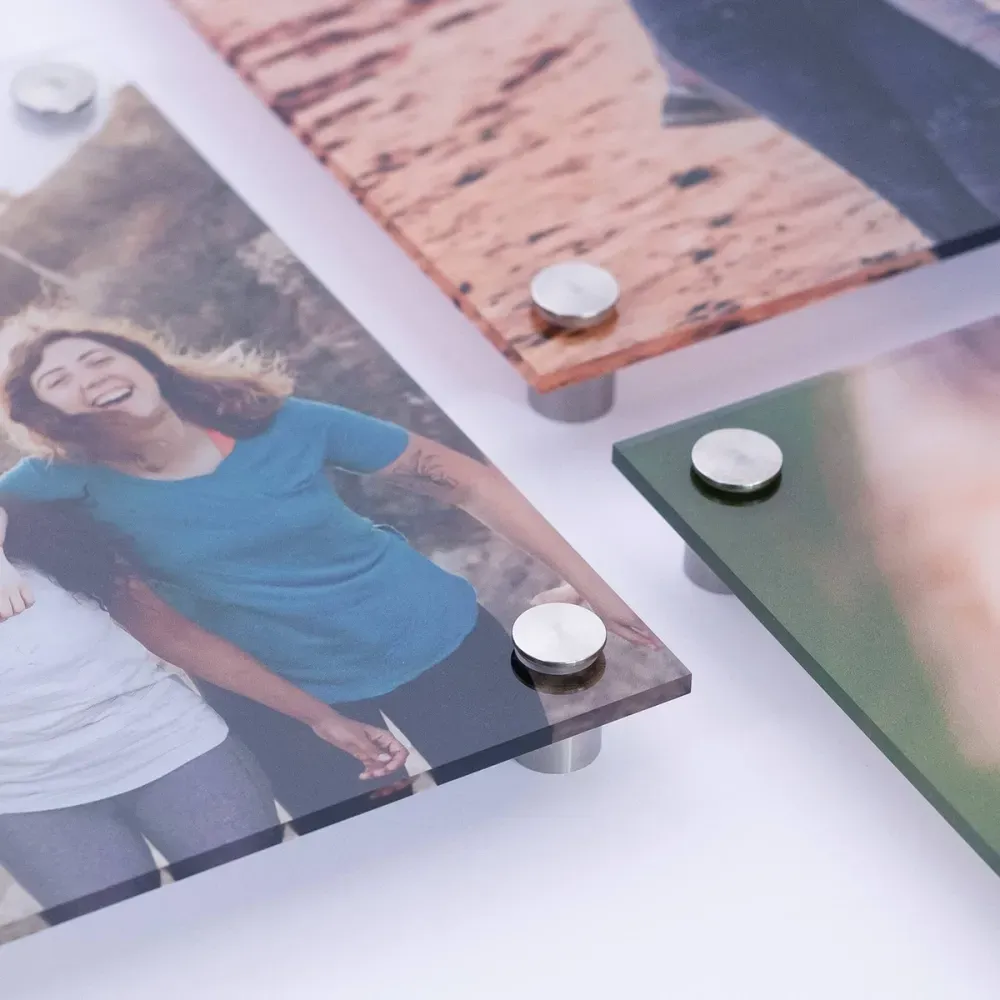
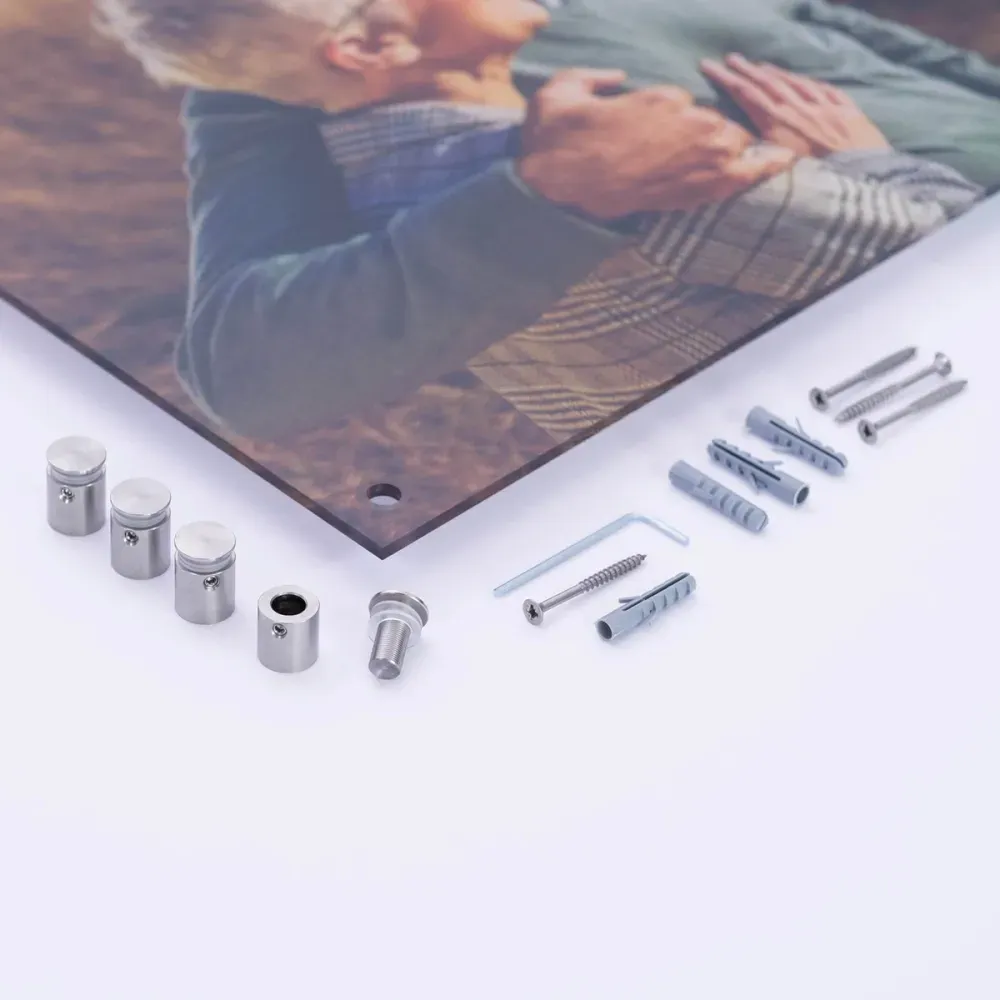
Upload your favorite pictures now and position them automatically via the configurator or manually. Finally, choose from various backgrounds and effects to complete your collage. Done! We print your collage in the highest image resolution on different materials like canvas, poster, aluminum dibond, or acrylic glass.
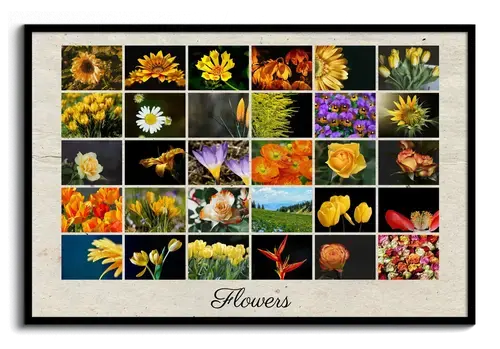
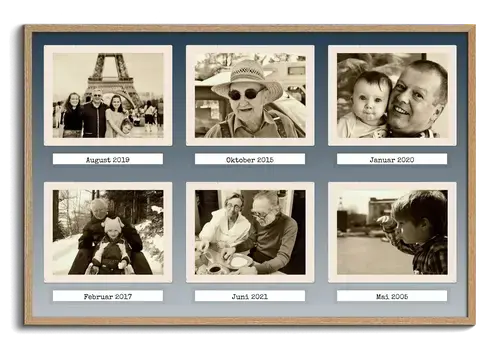
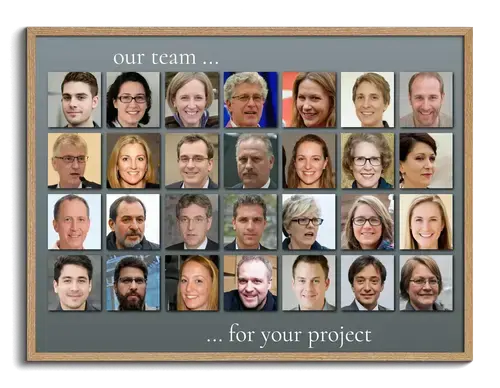
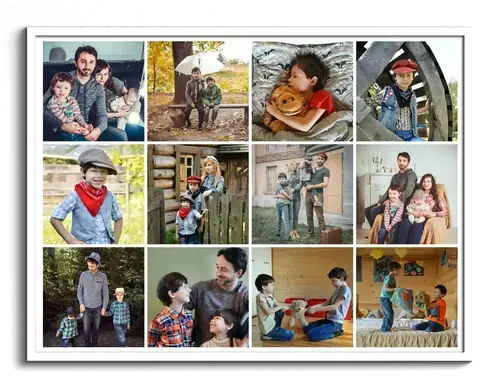
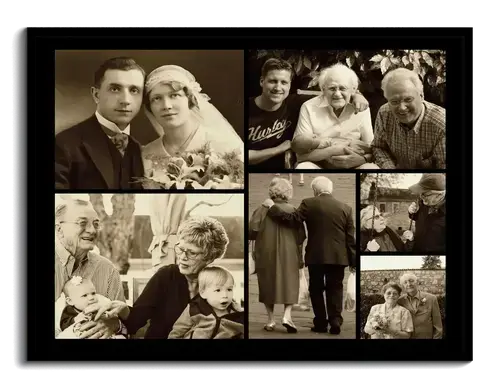
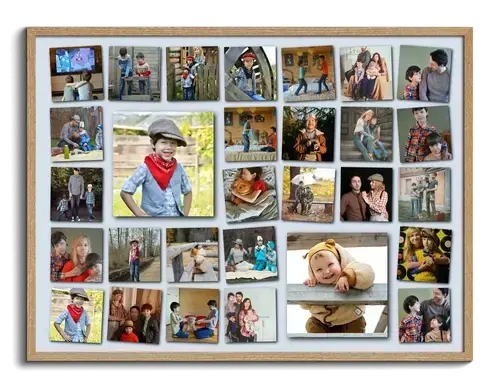
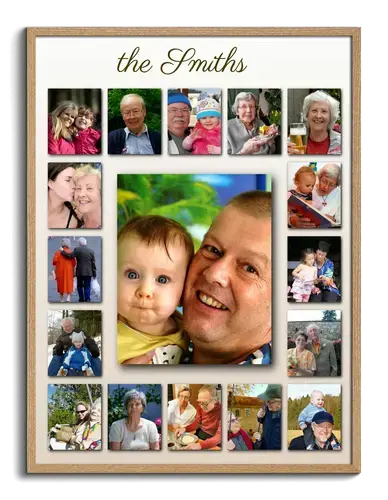
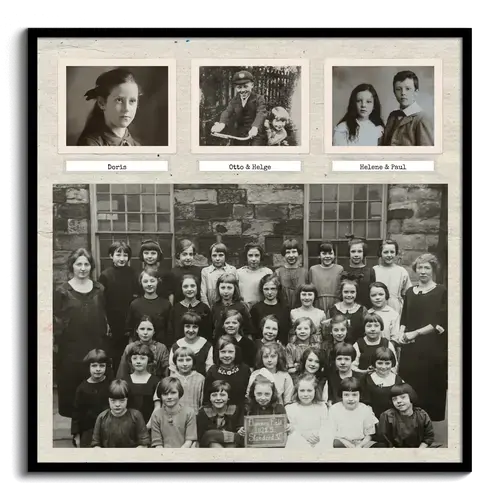
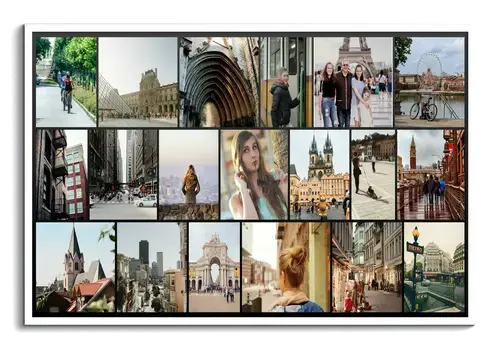
Sample Collages
Click on one of the sample collages displayed here to open it in the template configurator.
Helpful Tips for Quick Editing
Creating photo collages is a breeze with our program, but there are a few things you should keep in mind.
Select Your Photos in Advance
Our classic grid layout templates use the same format for all photos, meaning they are all either square, portrait, or landscape. So, it’s a good idea to think about which pictures you want to use in the collage beforehand. This will make it easier to choose a suitable layout, as not all photos can be cropped at will.
When you choose the "Standard" or "Shadow" photo style, you can set the image format yourself. "Polaroid" and "Old Photos" have fixed formats that cannot be changed.
If you want to use photos with different formats in your collage, our templates for wild arrangement or rows are suitable alternatives.

When should you use each print orientation?
Do you want to print the collage in a square, portrait, or landscape format? Besides selecting the right image format, the print orientation is crucial for the final result. But when should you choose which orientation?
Automatic
If you choose the "automatic" print orientation, it will adjust according to the number of rows and columns.
Portrait, landscape, or square
Regardless of the number of rows and columns, the print orientation remains the same.
The right print orientation depends on both the number of rows and columns and the format of your photos. Depending on the orientation you choose, different print sizes are also available to you.
Try different designs
It doesn't always have to be the classic layout. If you want to give your photo collage a unique retro look, try our Polaroid design. You can label the Polaroids individually, making the collage a special gift. Whether for a birthday, as a guestbook for a wedding, or as a farewell gift for a colleague – everyone can leave a personal message for the recipient.
Ideas and inspiration for your photo collage
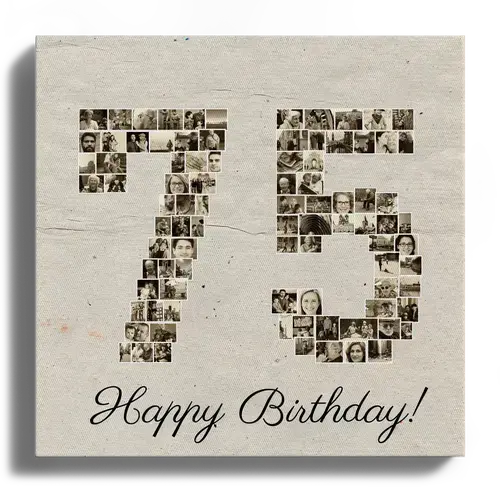
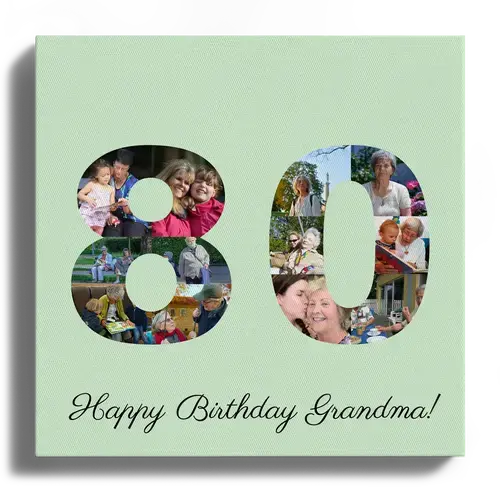
Don't have an idea for your collage design yet? No problem. To make your choice easier, we've gathered some designs for inspiration. Our classic grid-design photo collages are suitable for various occasions. See something you like? With one click, you can open and configure the corresponding template.
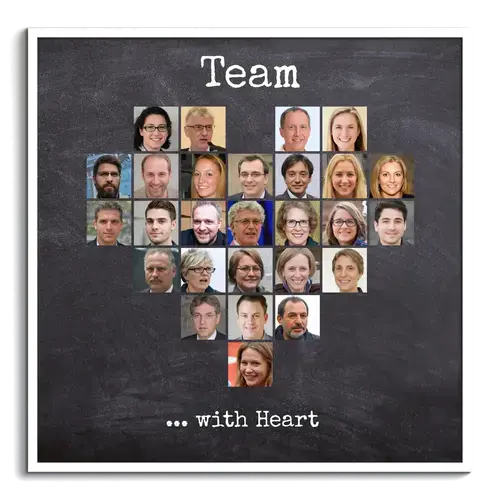
We have more great templates for you
Have you explored our other templates? How about a heart made from your favorite pictures – the perfect photo gift for your loved ones!


Customer Reviews
We had the digital file printed in razor-sharp detail on a t-shirt elsewhere.
Did You Know?
Our passion is photos and personalized print products. Check out our other creative gift ideas: